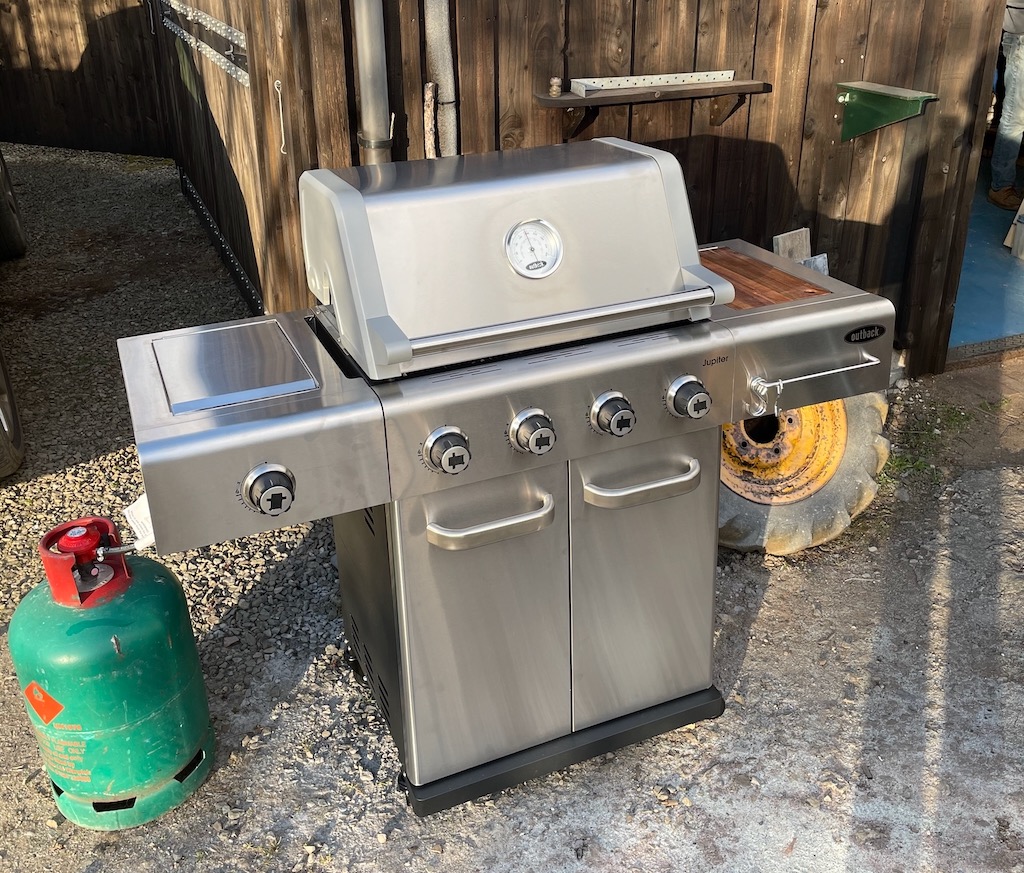
Back in Spring 2021 my family, my wife, and I decided to put our money together to purchase a new BBQ, an Outback Jupiter Hybrid. I really enjoyed getting together with others and cooking outdoors, which quickly grew into a desire to keep trying new cooking methods, foods and experimenting.
One of the first new things I tried was cooking a brisket; I had no idea what I was doing or even what meat I was buying at that point, but it was the first time and so I was excited. I cooked it low and slow on the Jupiter using only one of the burners turned down very low, along with some wood chips in a foil pouch to provide some smoke. It turned out great and everyone enjoyed it. Afterwards I learned that I had only cooked a small piece (the flat) of a full brisket.
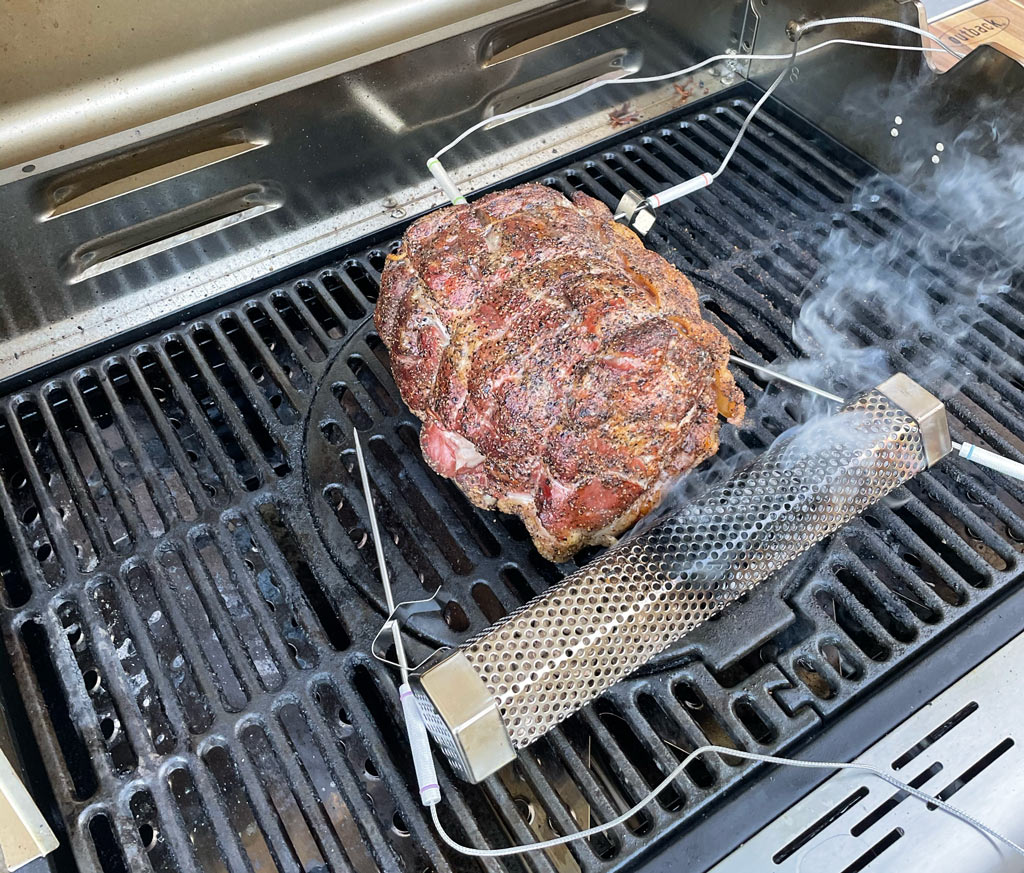
Next I tried cooking a pork shoulder, again using the low and slow method, and this time with some apple-wood chips for a little smoke flavour. Again it turned out to be delicious but I was left hankering for more smoke. I really like the BBQ that we bought and ended up getting a rotisserie for it as well, which makes an awesome chicken!
Nevertheless, I was left wondering what a brisket cooked over a real fire would be like, and so began the research. After reading the Franklin BBQ book I quickly decided that an offset smoker, or stick-burner is what I needed.
I looked around to see what was available in the UK and was pretty disappointed. Although things seem to be changing slowly, with some UK manufacturers appearing, it looked like commercially available units were either of very cheap construction or prohibitively expensive (presumably due to import costs from the US).
The design
I knew from watching various YouTube videos and reading online, that I wanted to construct an offset smoker. Additionally, I wanted to keep things simple at this point with just a firebox, a cook chamber, and a chimney/smoke stack. There are lots of variations with reverse flow, and baffle plates amongst other design features and techniques but as this is my first cooker I wanted to keep things simple and stick to the basics. I also wanted to cut down the build time in order to satisfy my need for smoked meat before the summer was over. 😅
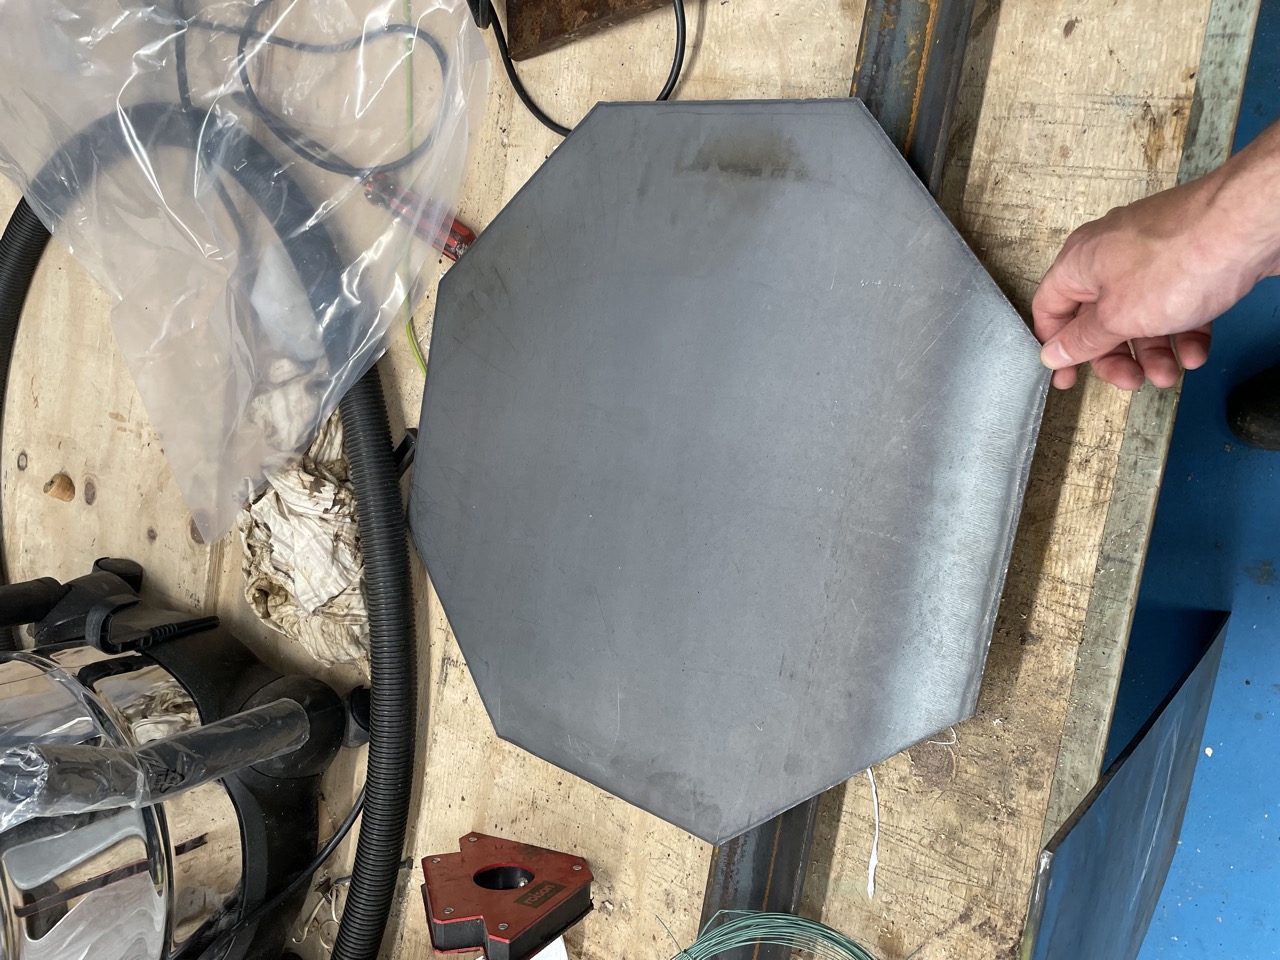
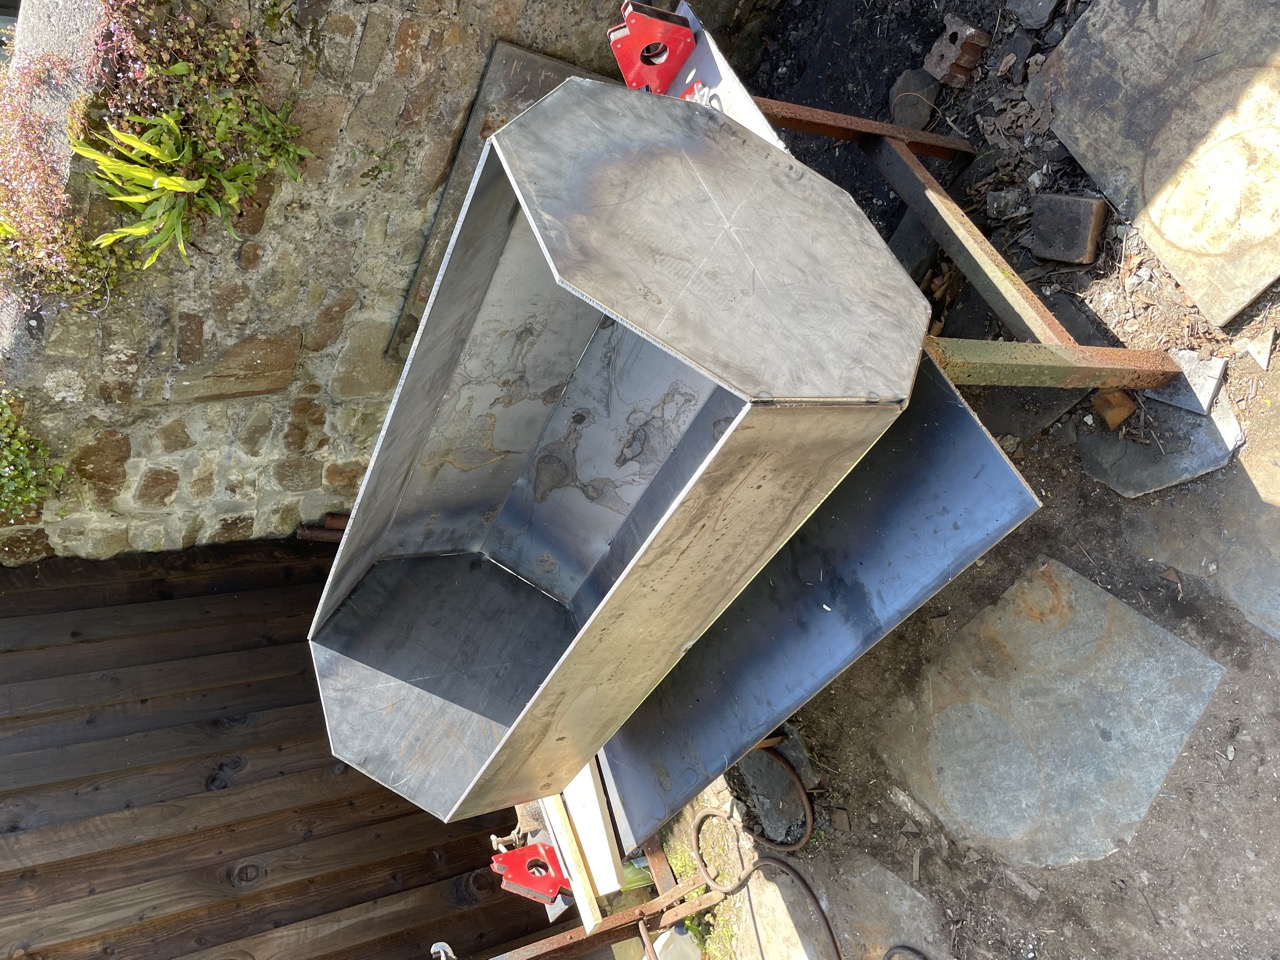
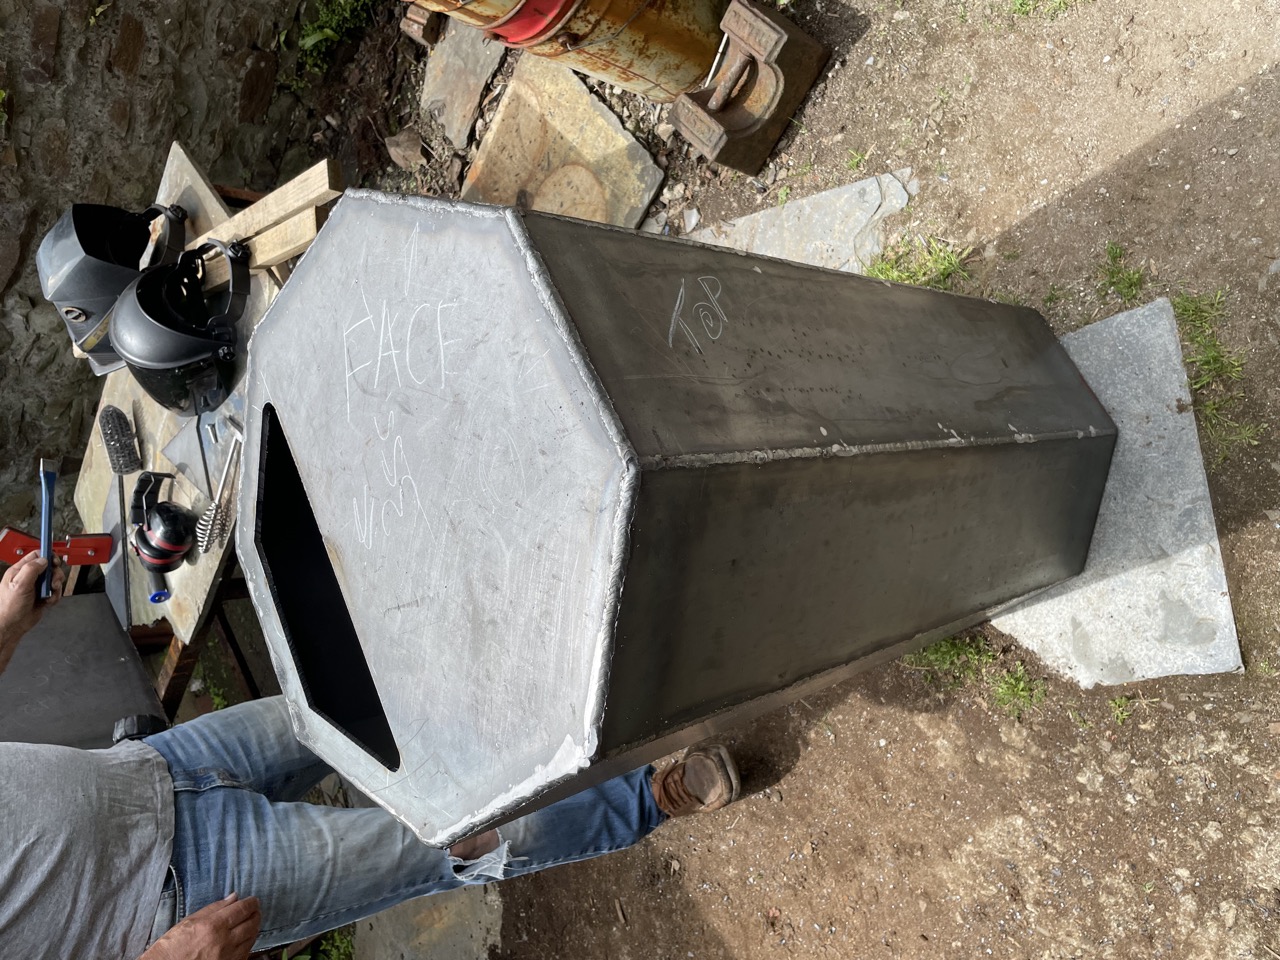
I found it really tough to get hold of steel tube of large diameters here in the UK, so I figured I could weld together an octagon shaped tank. I’ve aimed for 20” wide by 40” long which gives me a volume of about 54.8 gallons; 12,658 cu in.
Using the BBQ Pit Calculator I came up with a firebox size of 18” high, 17.25” wide and 18” long, which gives me a size of 5589 cu in, which, given a recommended size of 4220, that’s a bit oversized at ~130%. I’ve purposefully made the firebox width a little less than the cook chamber, so I can add insulation later if I need to.
I’ve gone for a 4” chimney, 35 inches long (based on the fact I could buy a 1000mm length) with a collector the full width of the cook chamber positioned in the centre of the chamber height-wise, with the grate level centred as well. The throat comes out at 46 sq inch and everything will be made from 6mm steel plate (~1/4”).
I mocked it up in Autodesk Fusion 360, my go-to CAD software.
I created the design with the knowledge of the available steel sheet sizes in mind. Since the steel is so expensive I wanted to maximise the usage of each sheet.
The materials
After the design mockup came the materials order. I ended up ordering the following:
- 2x Mild Steel Plate 2000 x 1000 x 6mm
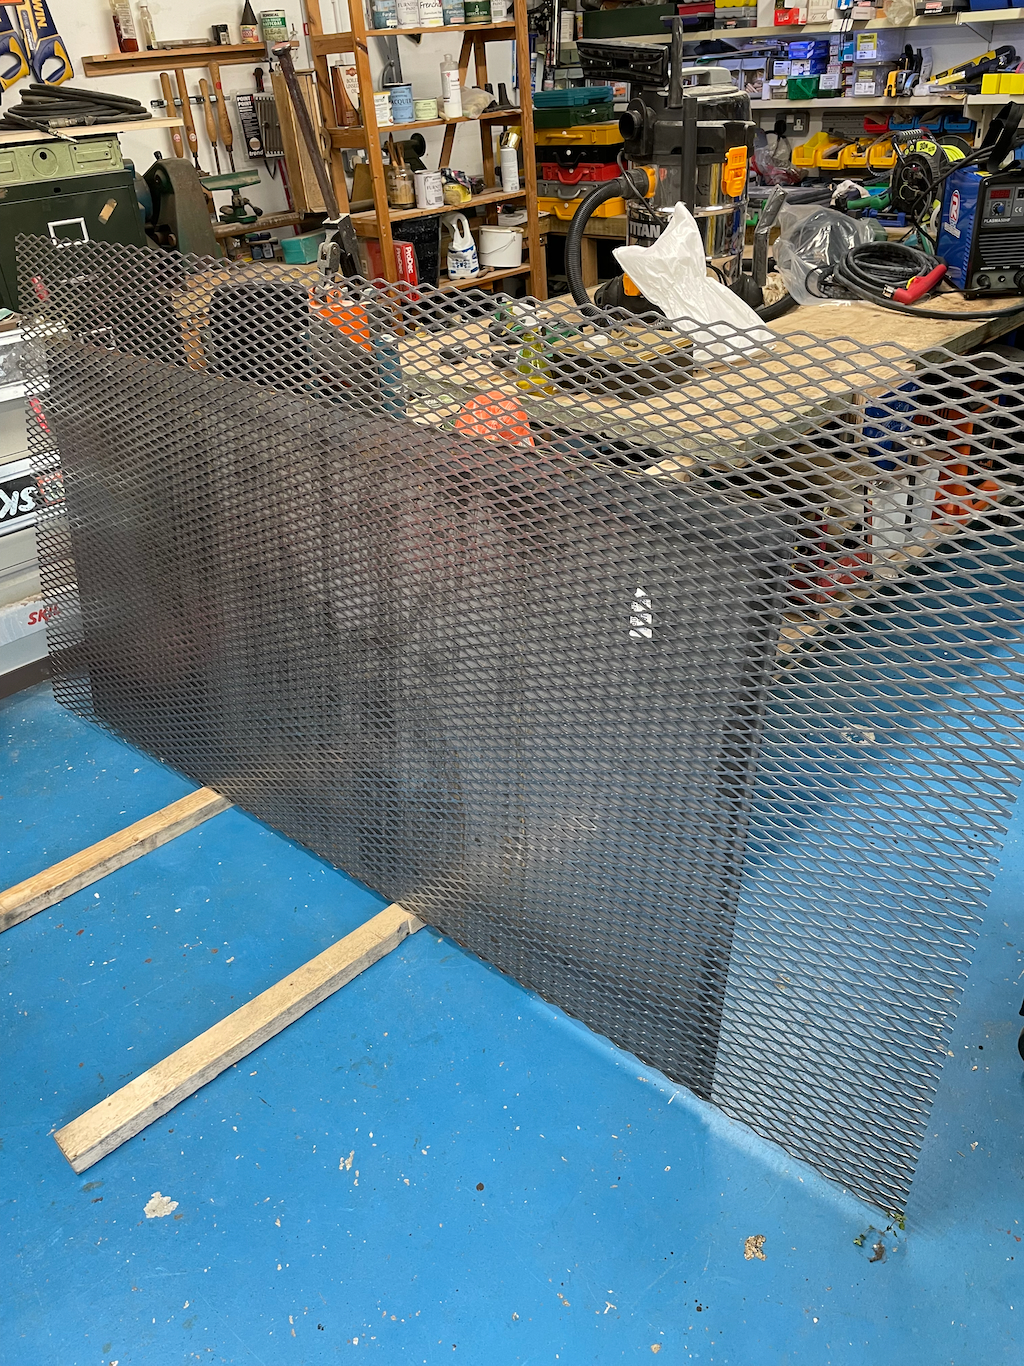
- 1x Expanded Mild Steel 2073F 2440 x 1220m
- 1x 40mm x 3mm Mild steel flat bar - 3 metre length
- 2x 20mm x 20mm x 3mm Mild Steel Angle Iron - 3 metre length
- 2x Old chicken house wheels 😅
- 1x 3” Pit Thermometer
This, along with a combination of scraps and offcuts from previous projects gave us enough to complete the build.
The tools
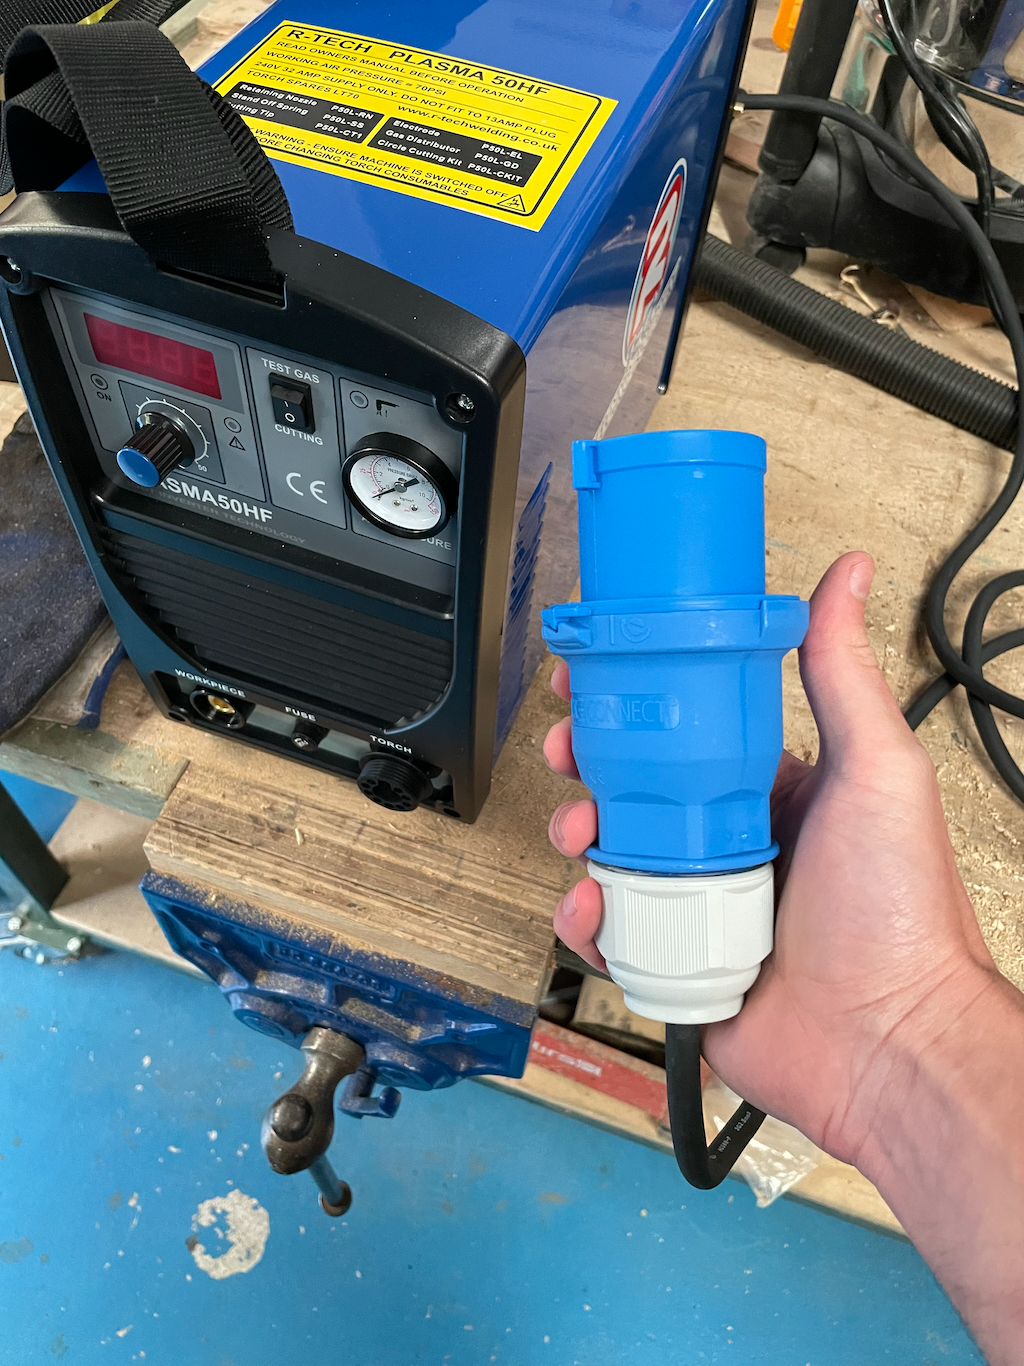
Aside from basic welding and cutting tools, not a lot is required to build a project like this. For welding we have our ancient oil-filled Pickhill Bantam which still works perfectly and goes all day long without fault. For cutting I decided to take the opportunity to add another tool to the shed that I have been wanting for a long time - a plasma cutter. I ended up getting the P50HF from R-Tech Welding and have so far been very pleased with it. I already had a suitable power supply and compressor which made connecting it up and using it very simple - perhaps if I had not had had either of these in place already I would have stuck with the angle grinder or looked at other torch-based cutting options.
The plasma cutter made light work of the 6mm plate and cut a significant amount of time off the overall build. It was so easy that I couldn’t imagine what it would be like to build this design with only an angle grinder available to cut!
Cutting out the parts
Since I had already gone to the extent of mocking up the design in Fusion 360 (view it online here) it was then a relatively simple task to pull measurements from CAD, lay them out on the sheets and get cutting.
First we cut out the octagon pieces for each end of the cook chamber, as they required the most effort to lay out.
Next, we moved on to cutting out the 8 identical panels for each side of the octagon. Again, having the plasma cutter available made each cut take a matter of seconds, even though they were up to 40” long! This, along with cutting out some (almost) squares to assemble the firebox, meant we were pretty much done with preparation of the flat parts, so we could proceed with the build.
Sticking things together
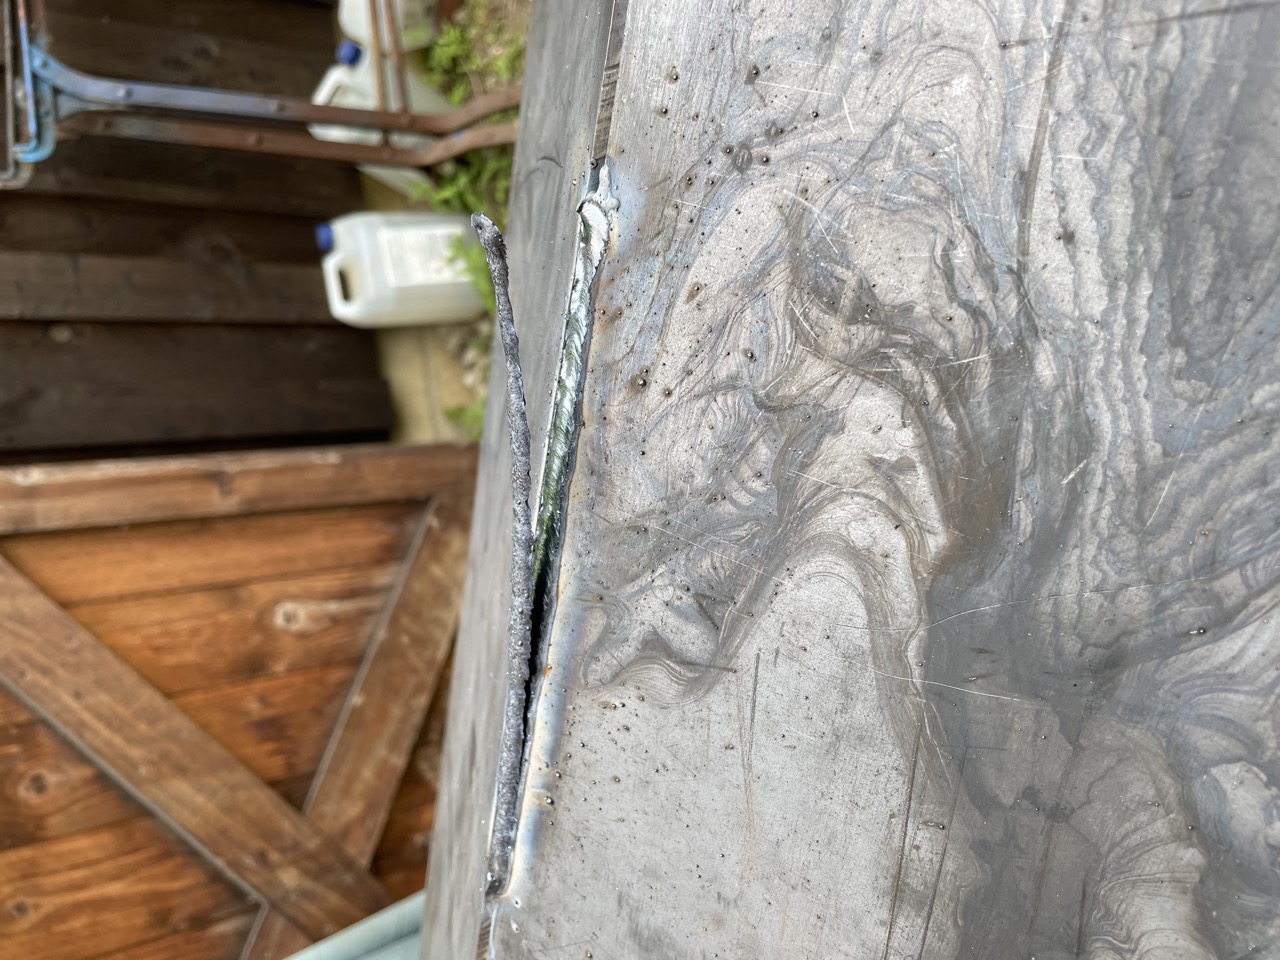
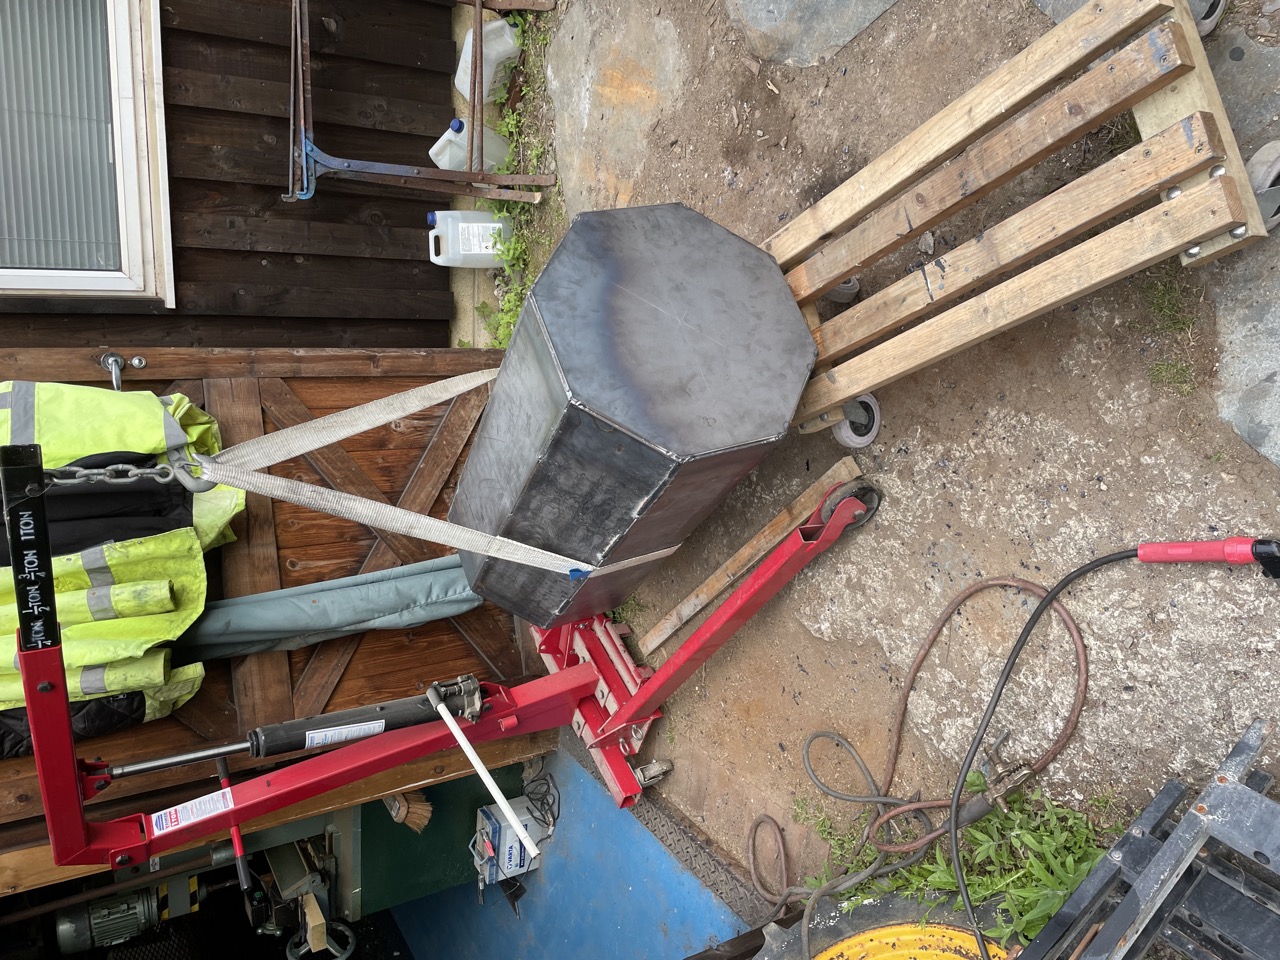
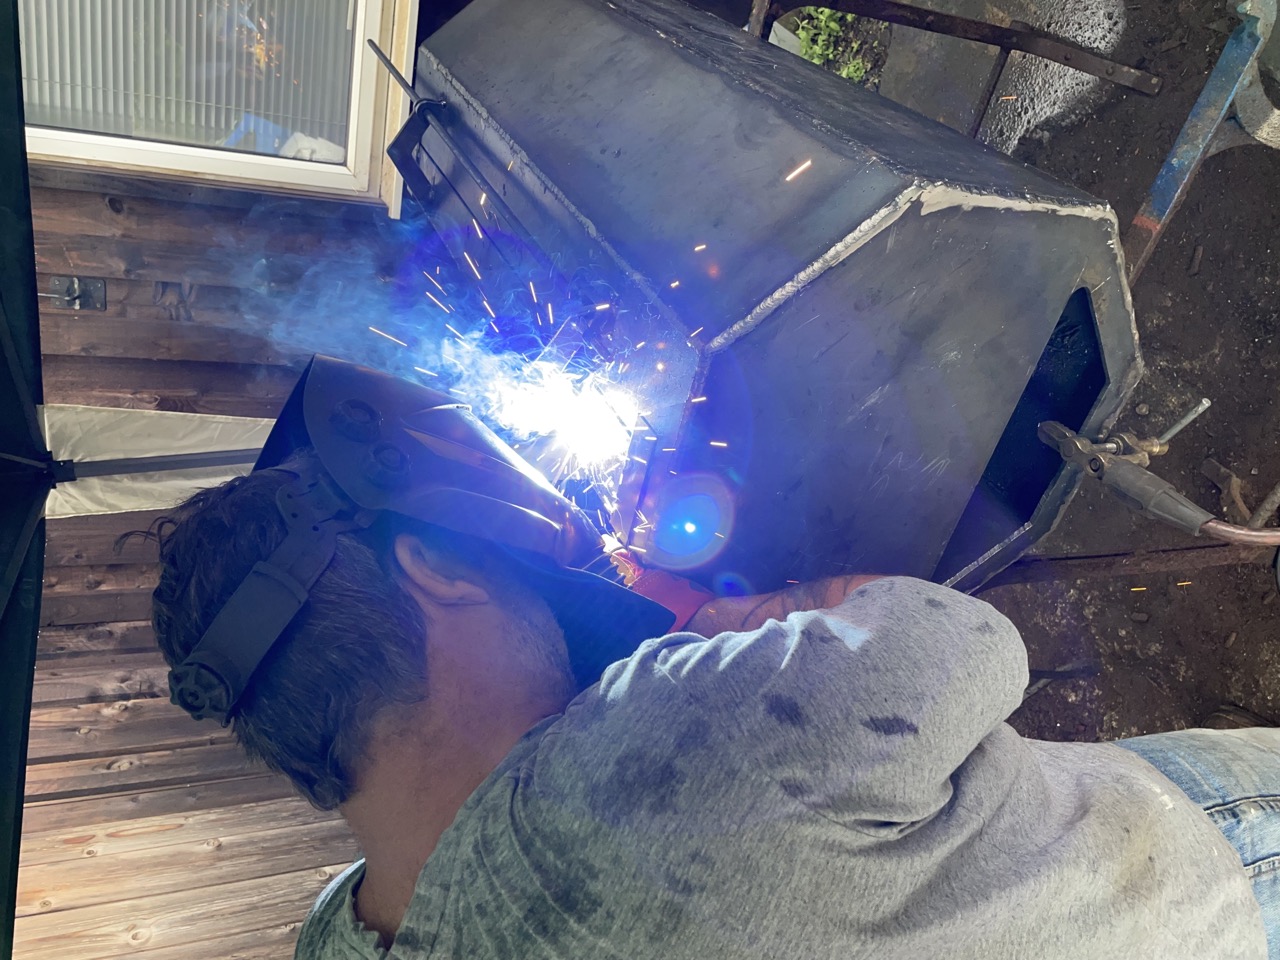
Next up was the assembly of the cook chamber. We took the approach of building this as a complete unit first in order to keep it as square and true as possible. We can cut out the openings for the firebox, chimney and door afterwards. This was a case of welding each of the side panels to the octagon end panels, then welding all the seams. My stick-welding abilities significantly improved after having to do this much welding continously! My Dad also had a lot of tips and tricks for me as he’s been a welder for many years.
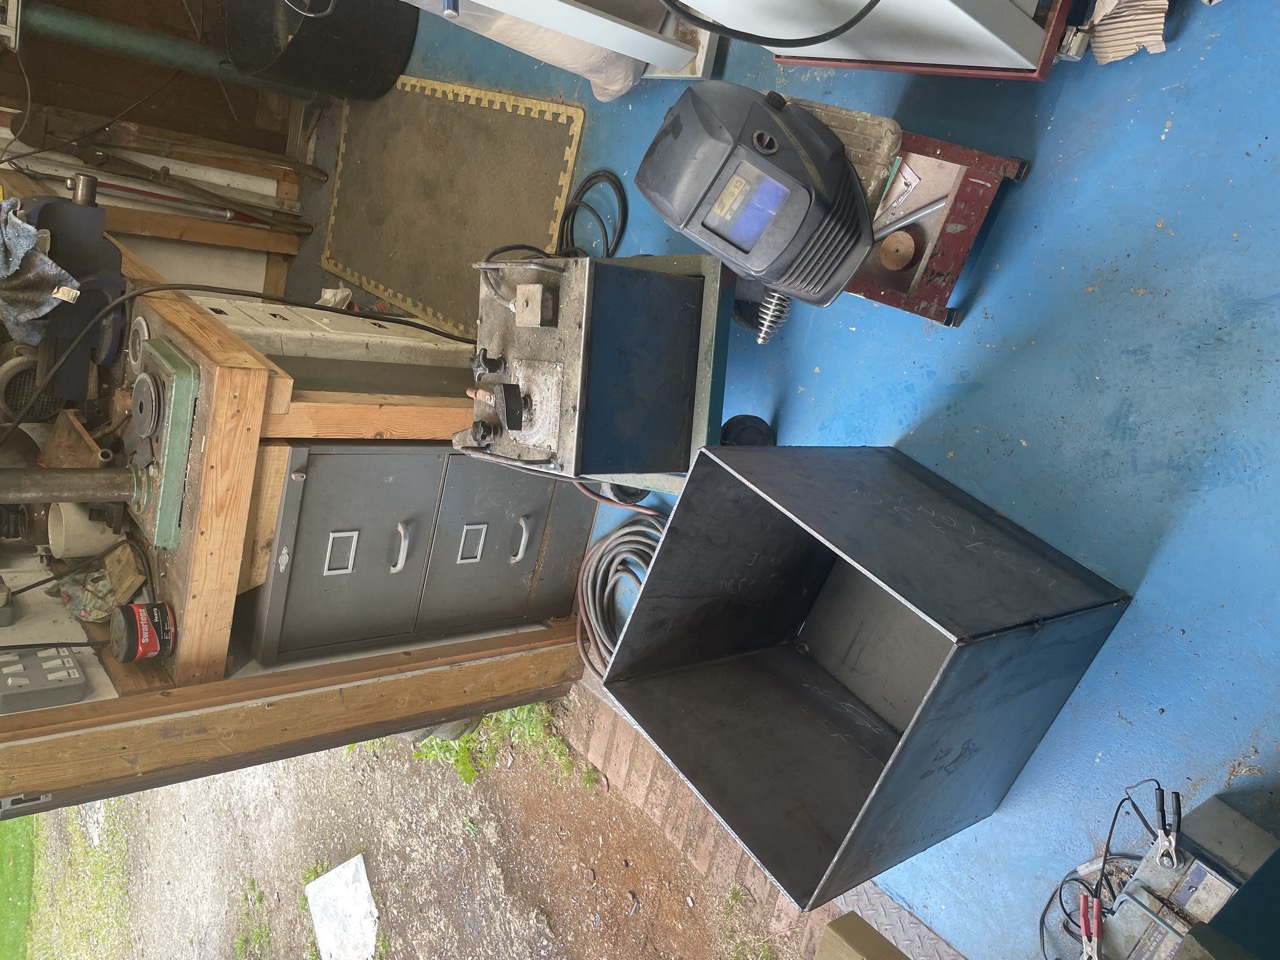
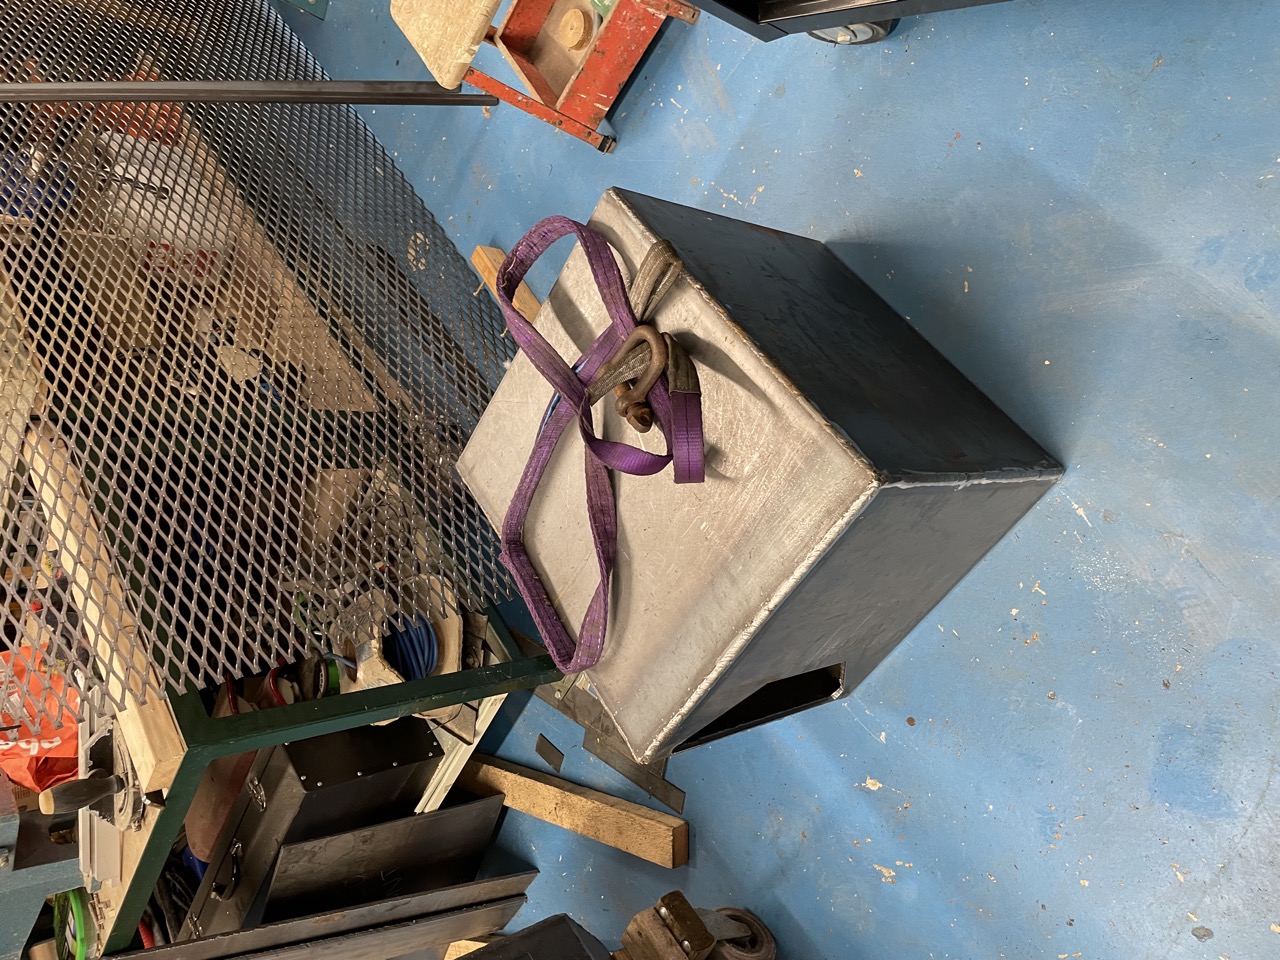
After the cook chamber we assembled the firebox - the idea being that we could build both pieces independently and then join them together afterwards. Again this was a case of getting the assembly done first, and then cutting out the features afterwards.
Adding features
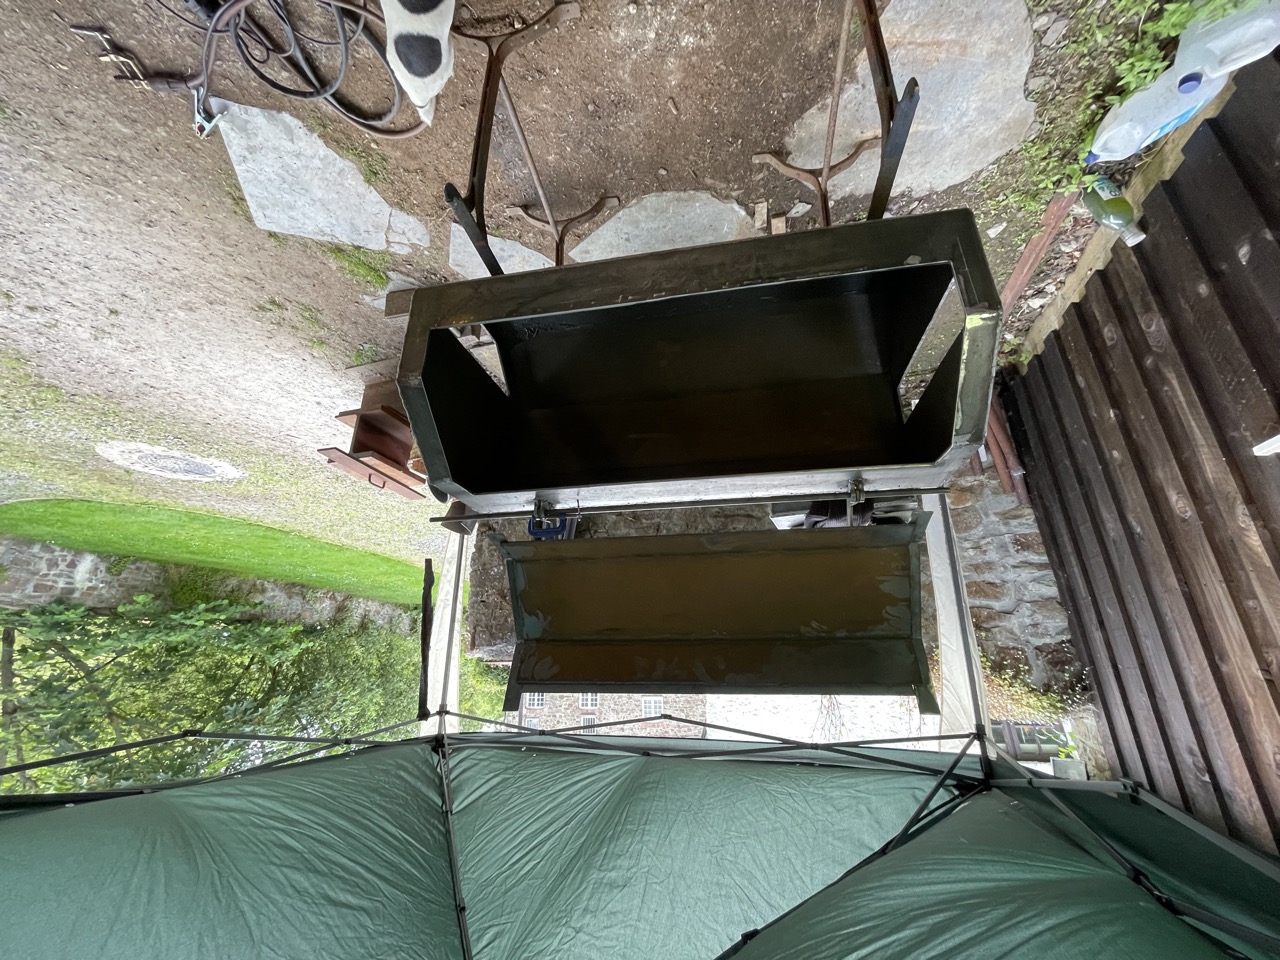
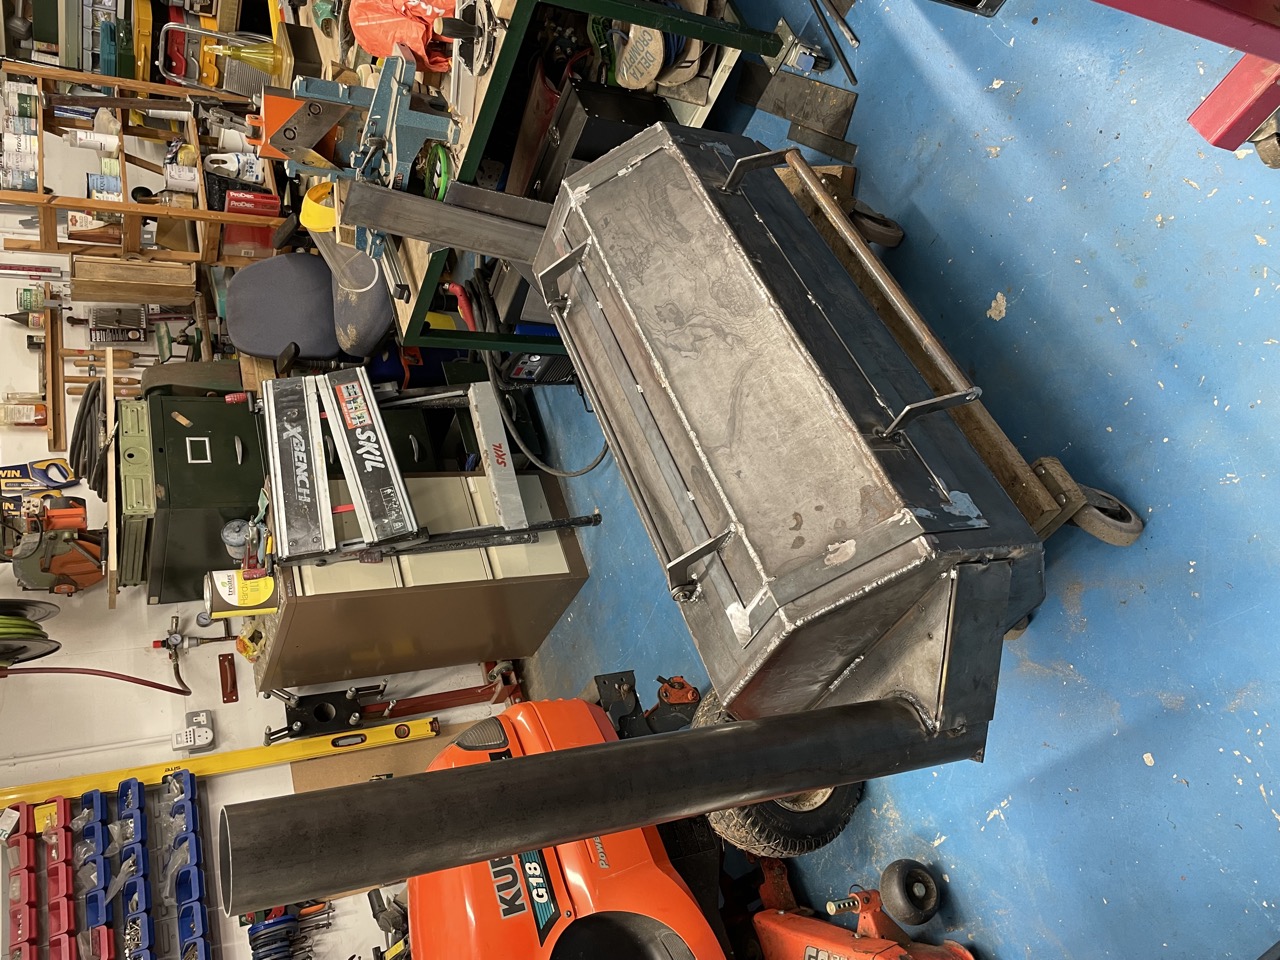
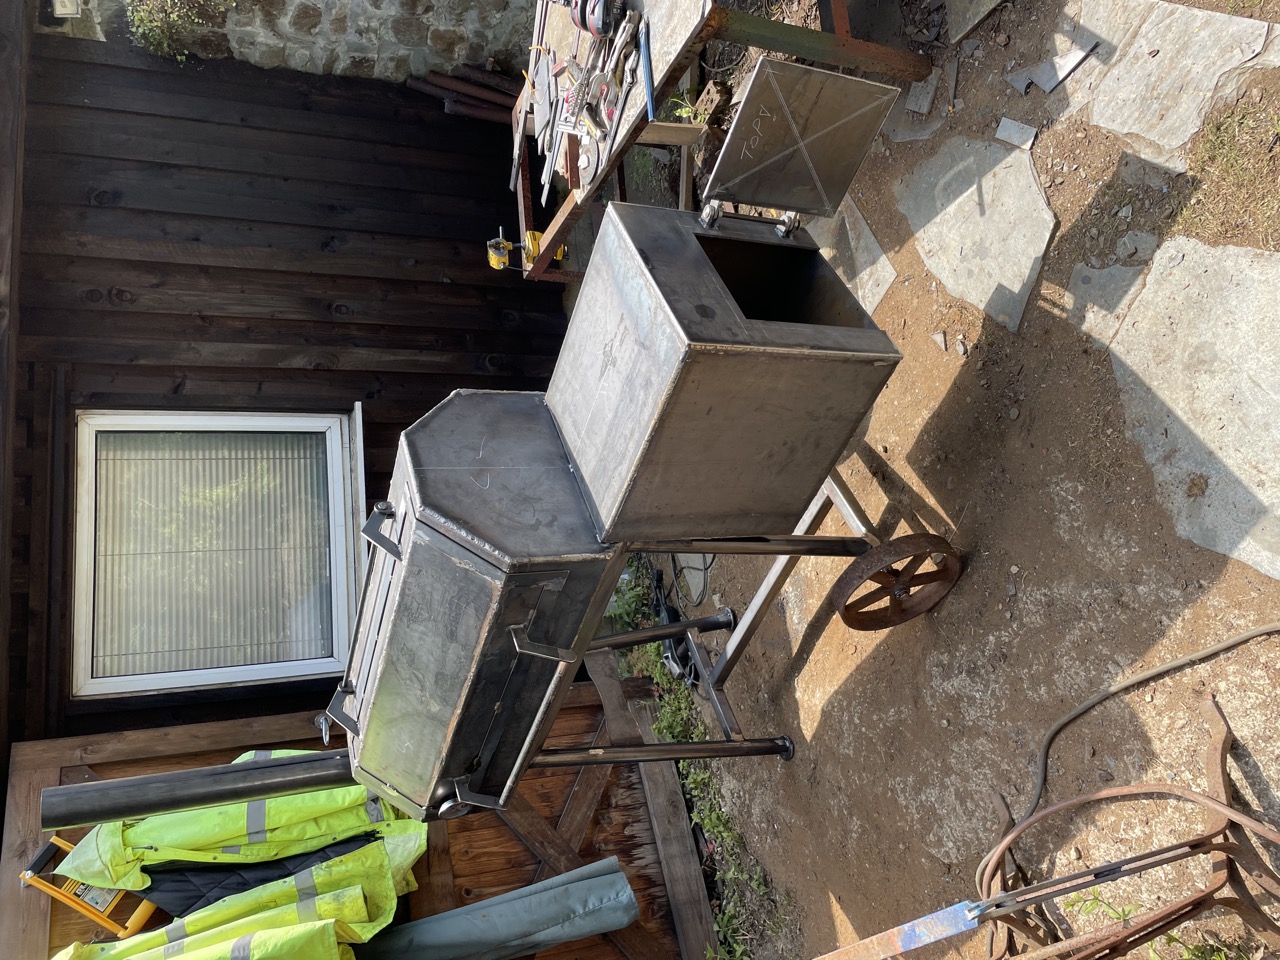
Once the cook chamber and firebox assemblies were complete, it was time to cut out the entry/exit into the cook chamber and the exhaust, before cutting the door, adding hinges, and welding the two assemblies together.
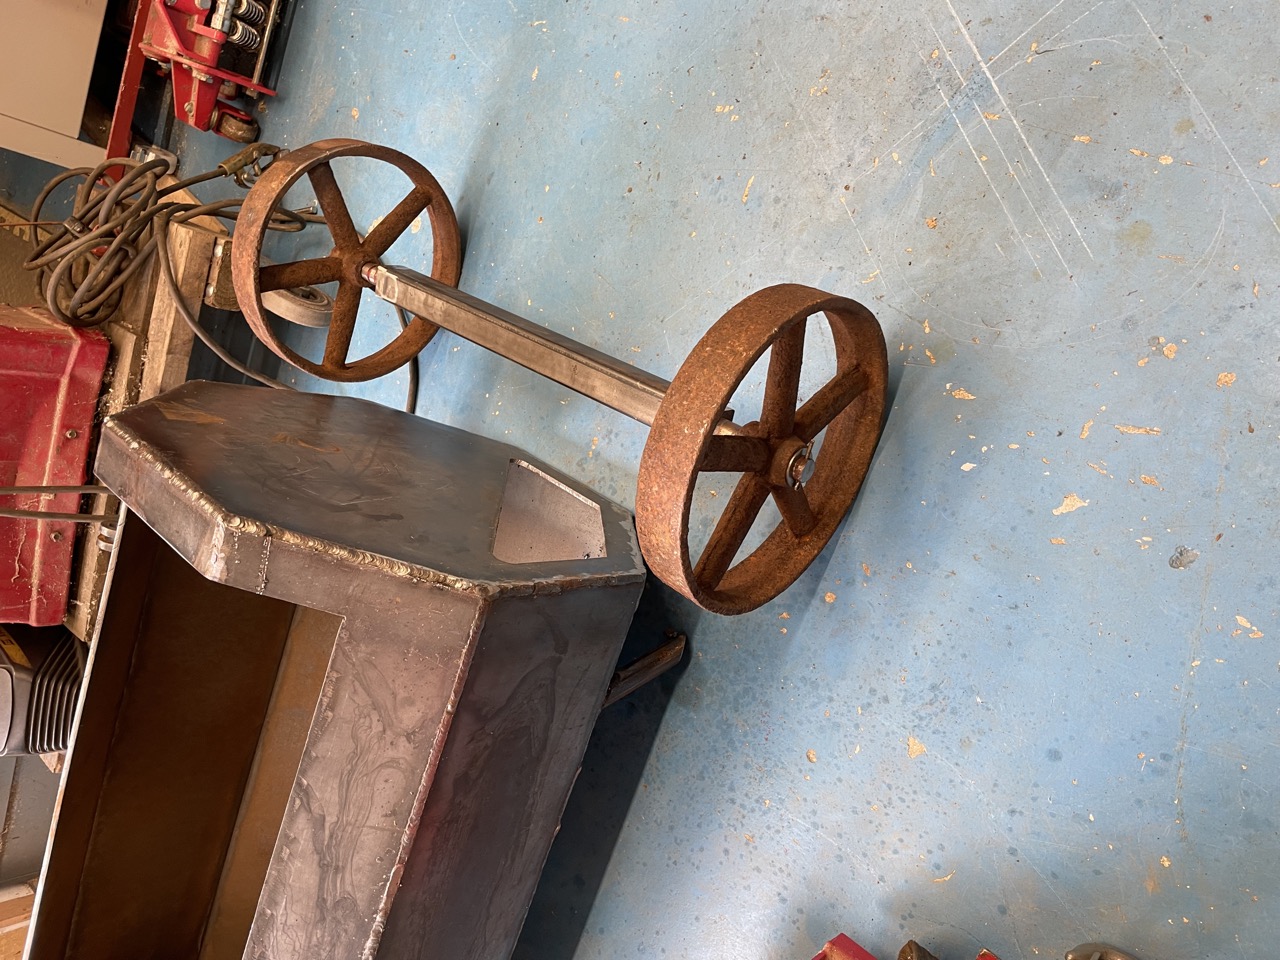
There was of course a need for some wheels, as this thing is rather heavy already! This was a chance to fire up the lathe and make an axle to run some old, cast-iron chicken house wheels.
Legs
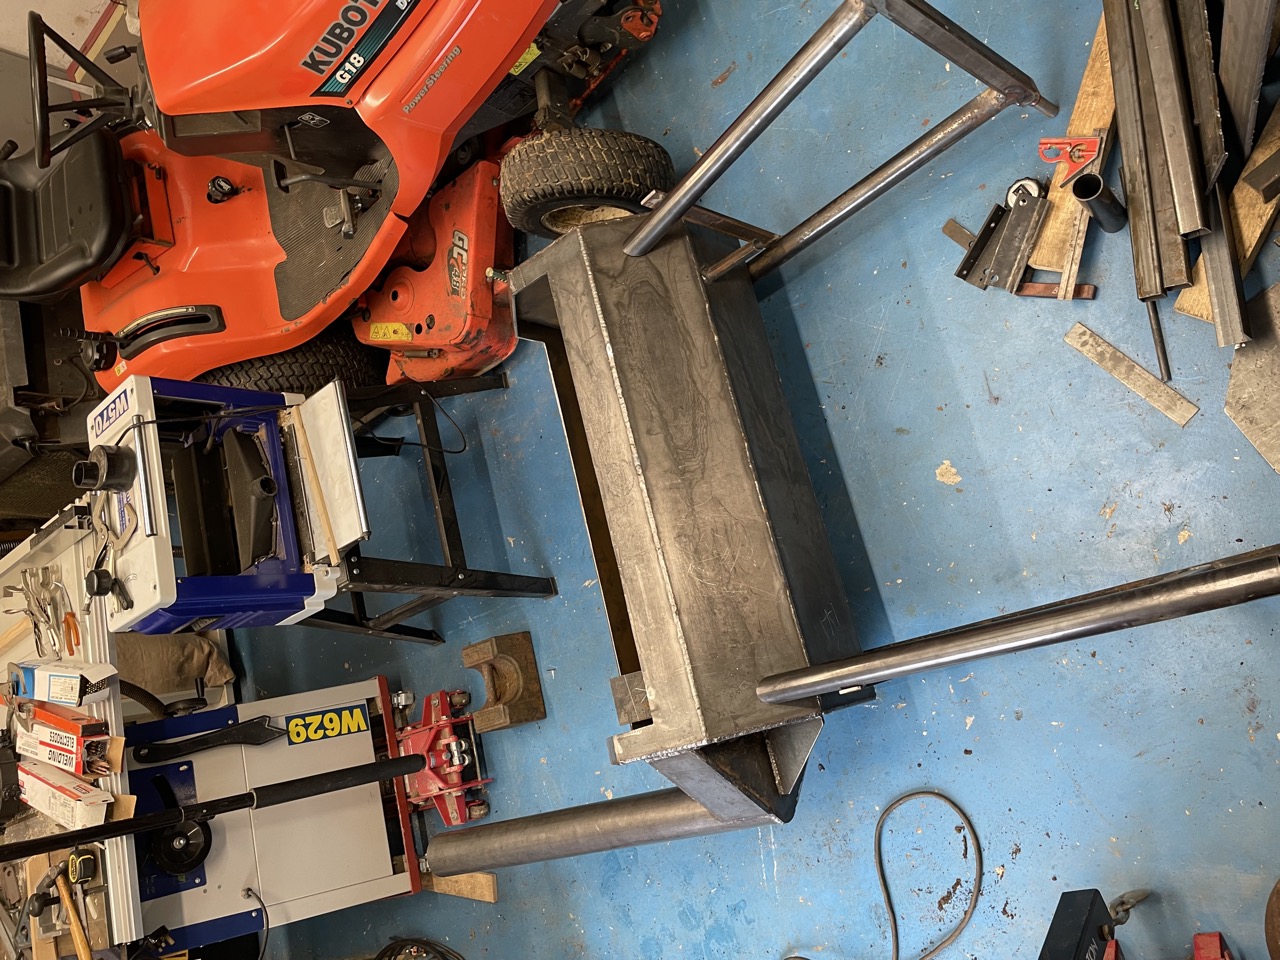
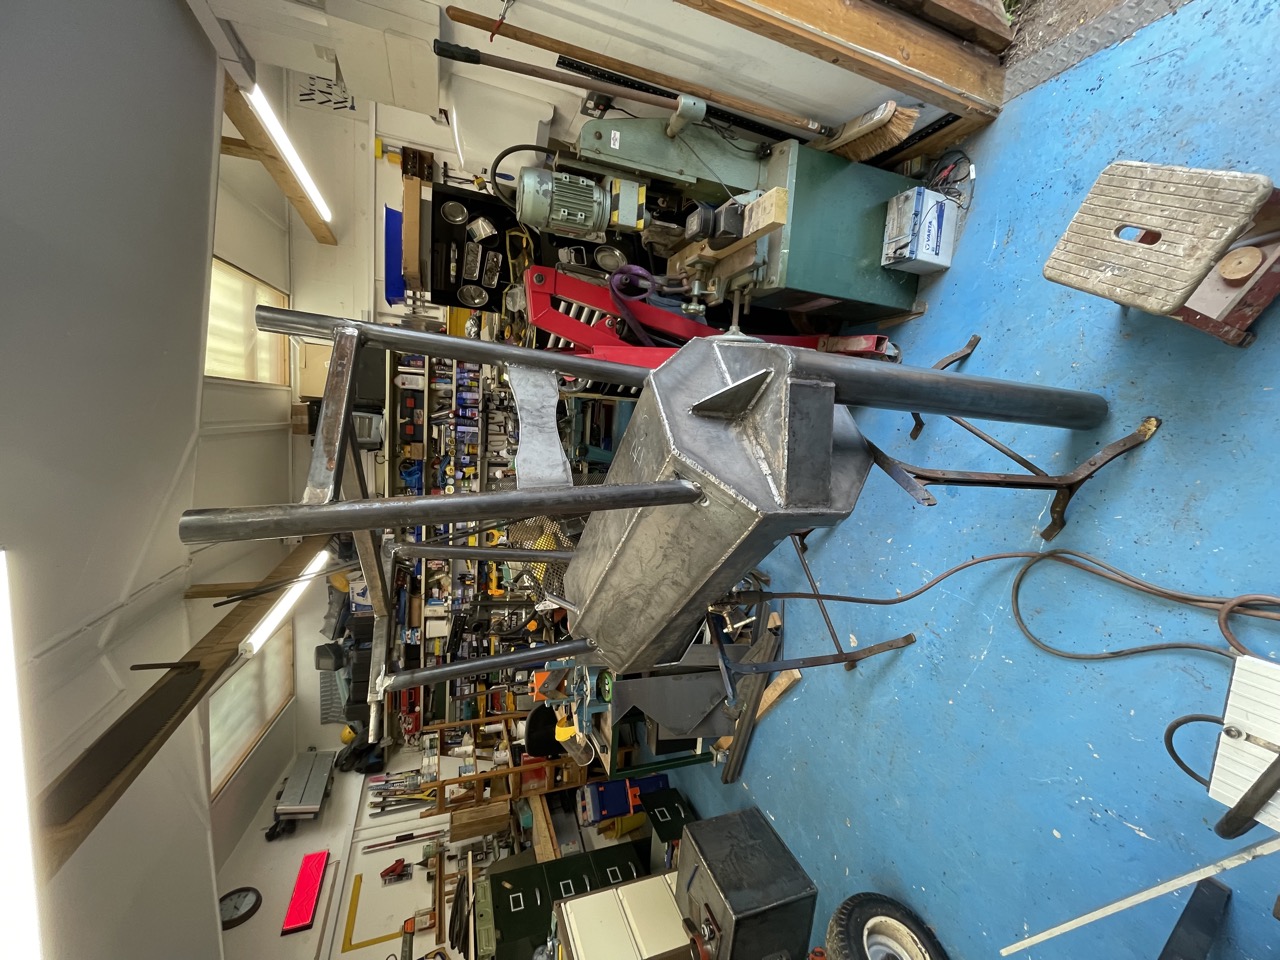
I neglected to model the legs for the unit in CAD, so there was a bit of freestyling that happened to put the assembly together. We built the leg structure ensuring that the cook chamber was angled slightly uphill towards the chimney (since the heat will rise), whilst also ensuring that it was angled forward to allow any liquids gather in one of the vertices of the octagon and exit via the drain pipe.
The legs were added, then we could finally flip the cooker over and see it on the legs and wheels for the first time.
Grate
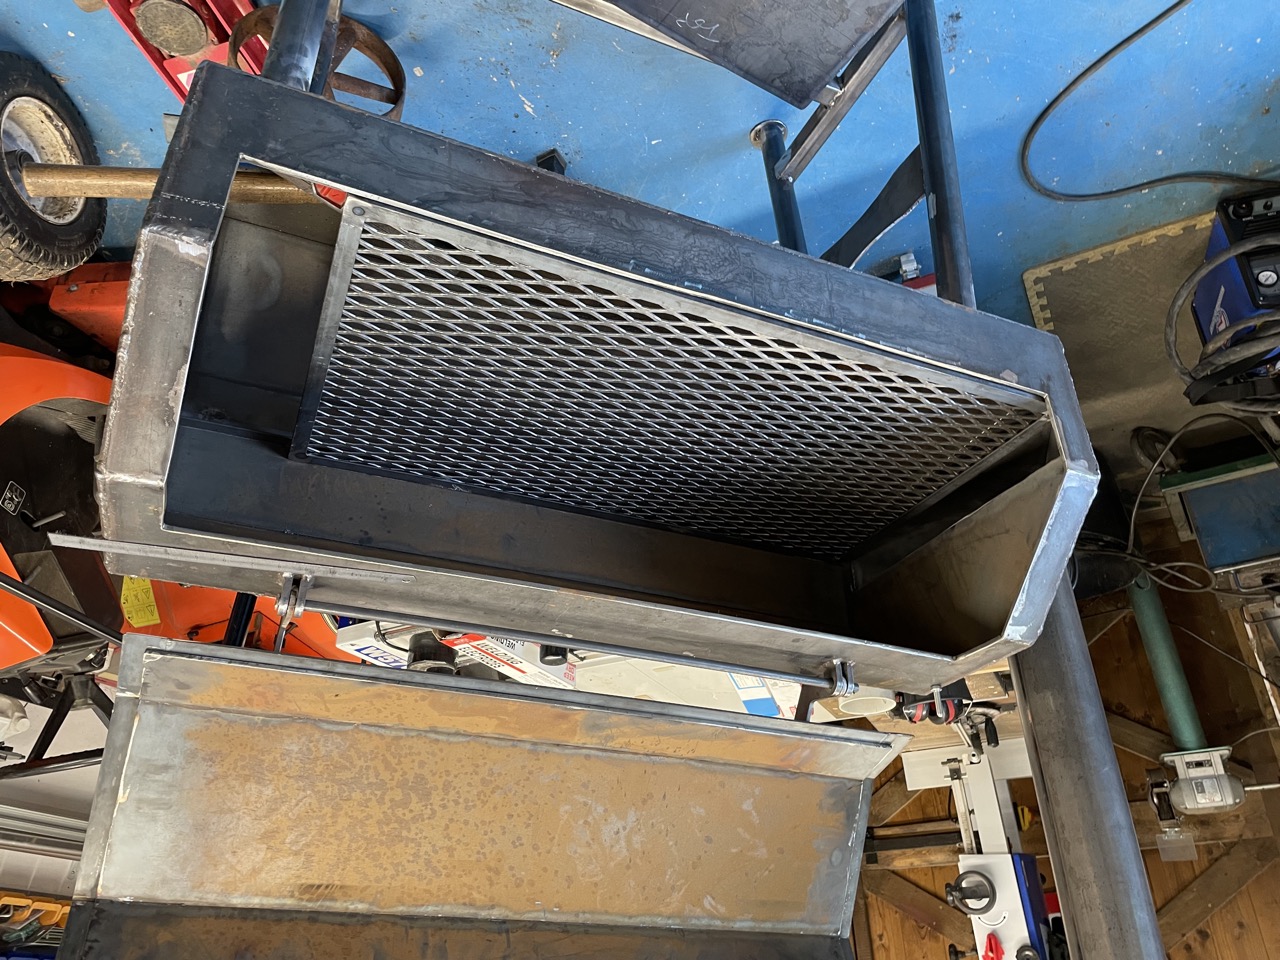
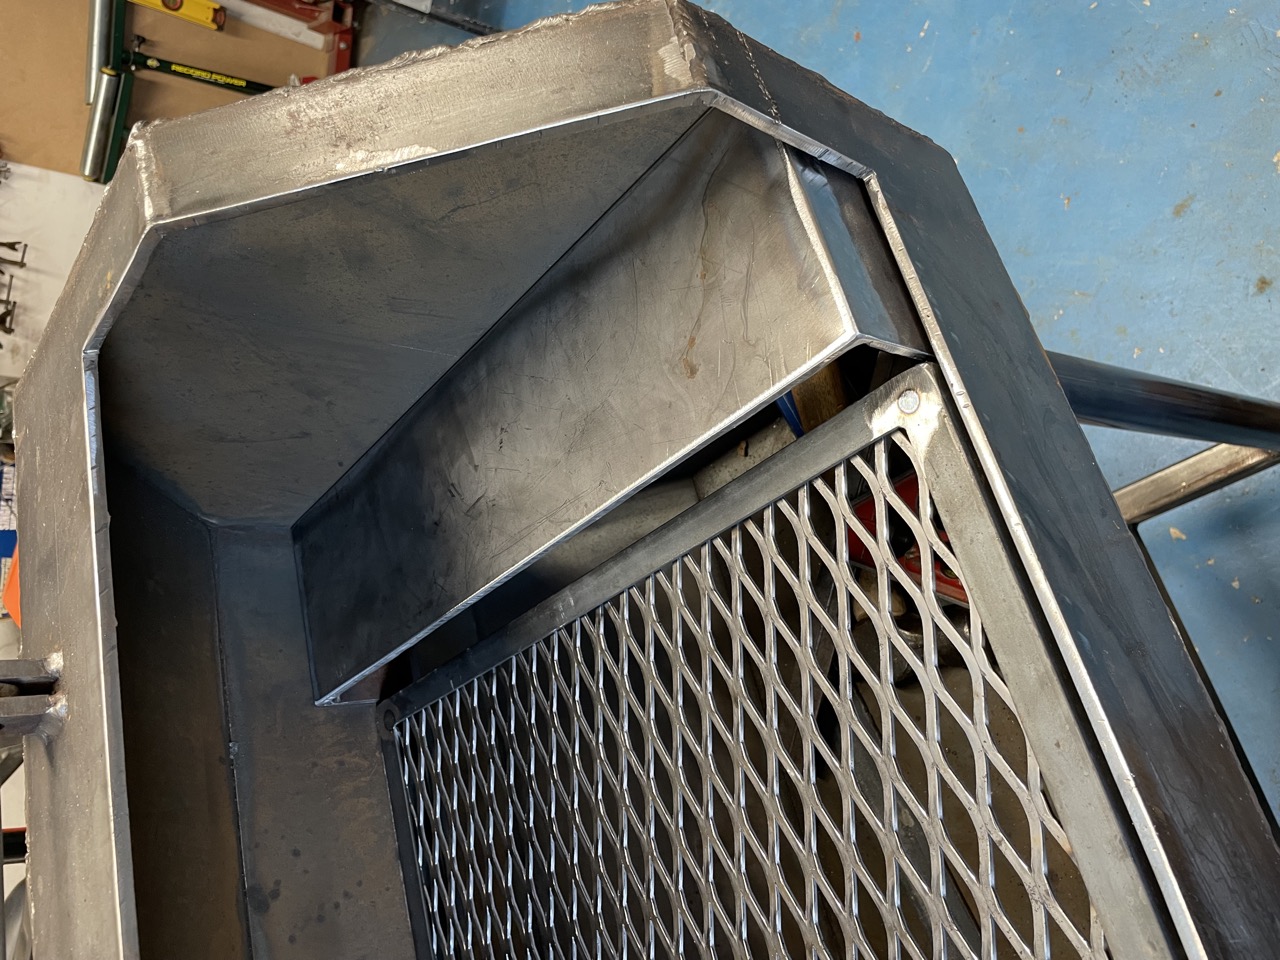
Before we can start cooking we need a grate and a small deflector plate to both push the heat a bit further out into the cook chamber, and to provide a surface for a water pan.
I made the grate out of 4 pieces of the steel angle and the expanded steel mesh, and the deflector plate was simply made from some of the offcuts from cutting out the plates for the main cook chamber.
Finishing up
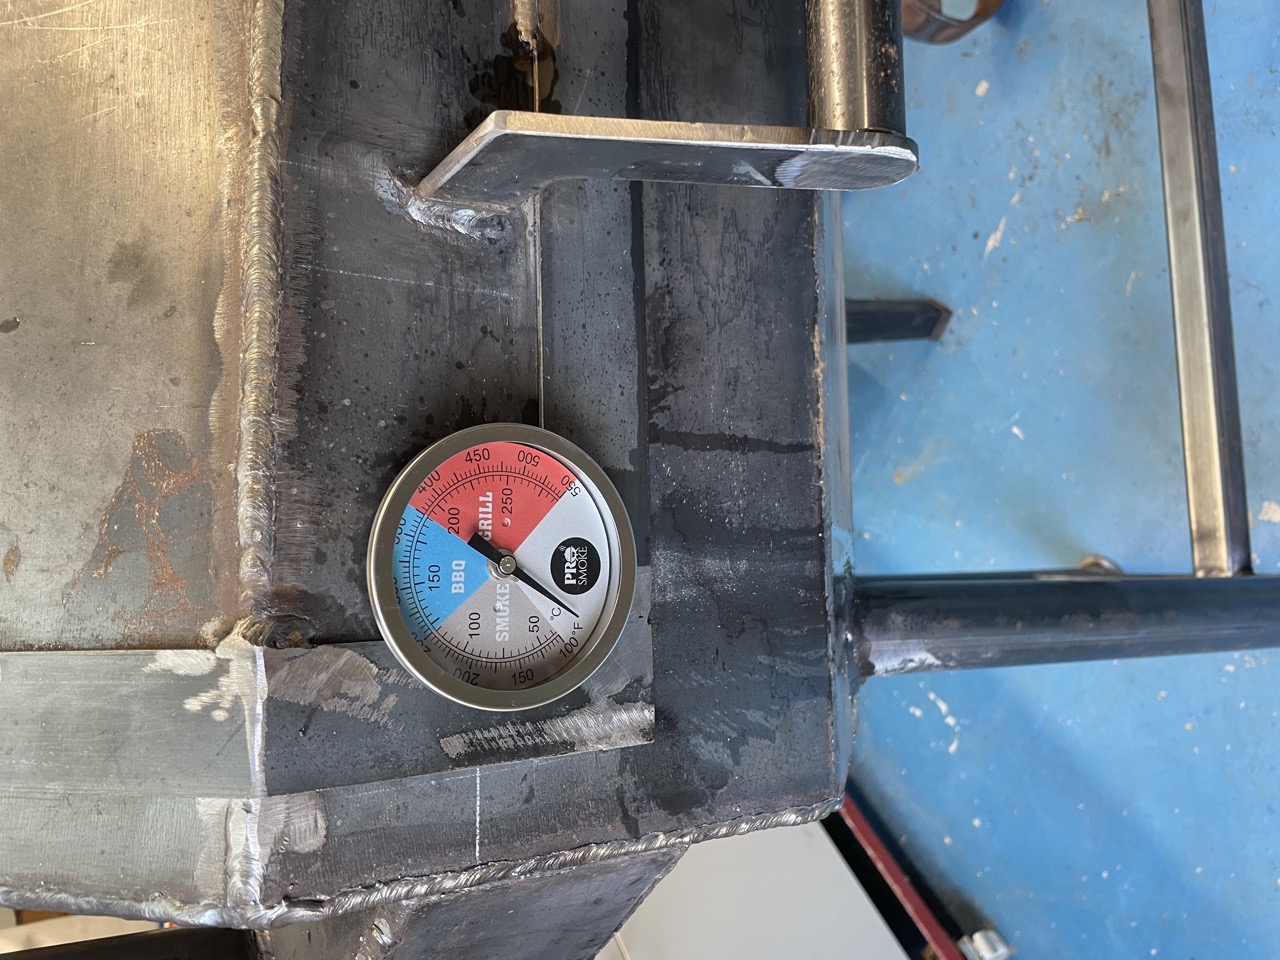
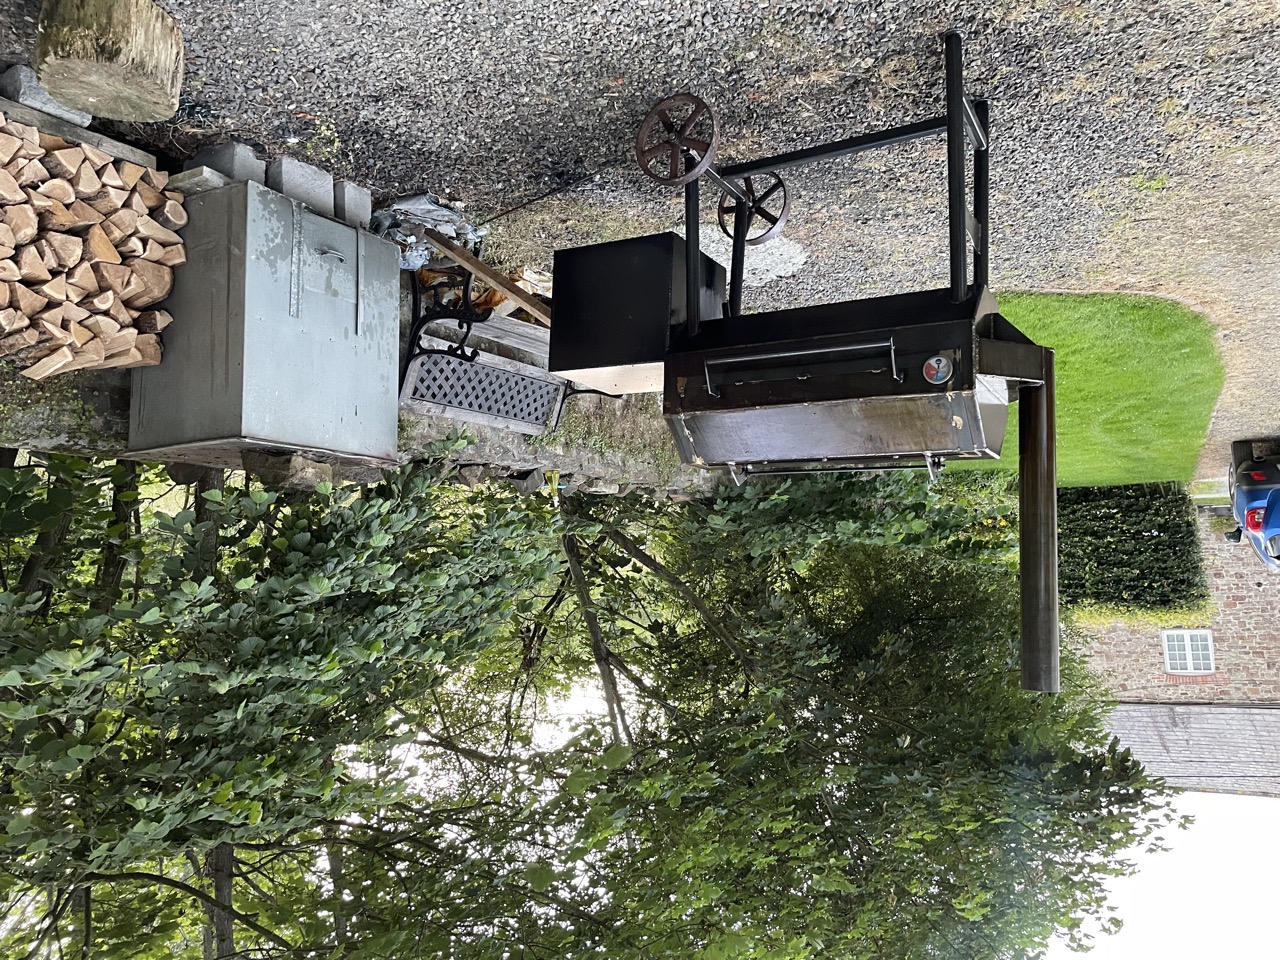
The last thing to do is to attach the firebox to the assembled cook chamber and to finish welding out all the seams. Finish off with a thermometer at grate level near the exhaust, and we’re ready to season!
I seasoned the cooker by coating everything in canola oil and burning a very hot fire. This gave everything a nice black sheen which seems to be holding off the rust for the most part.
Cooks
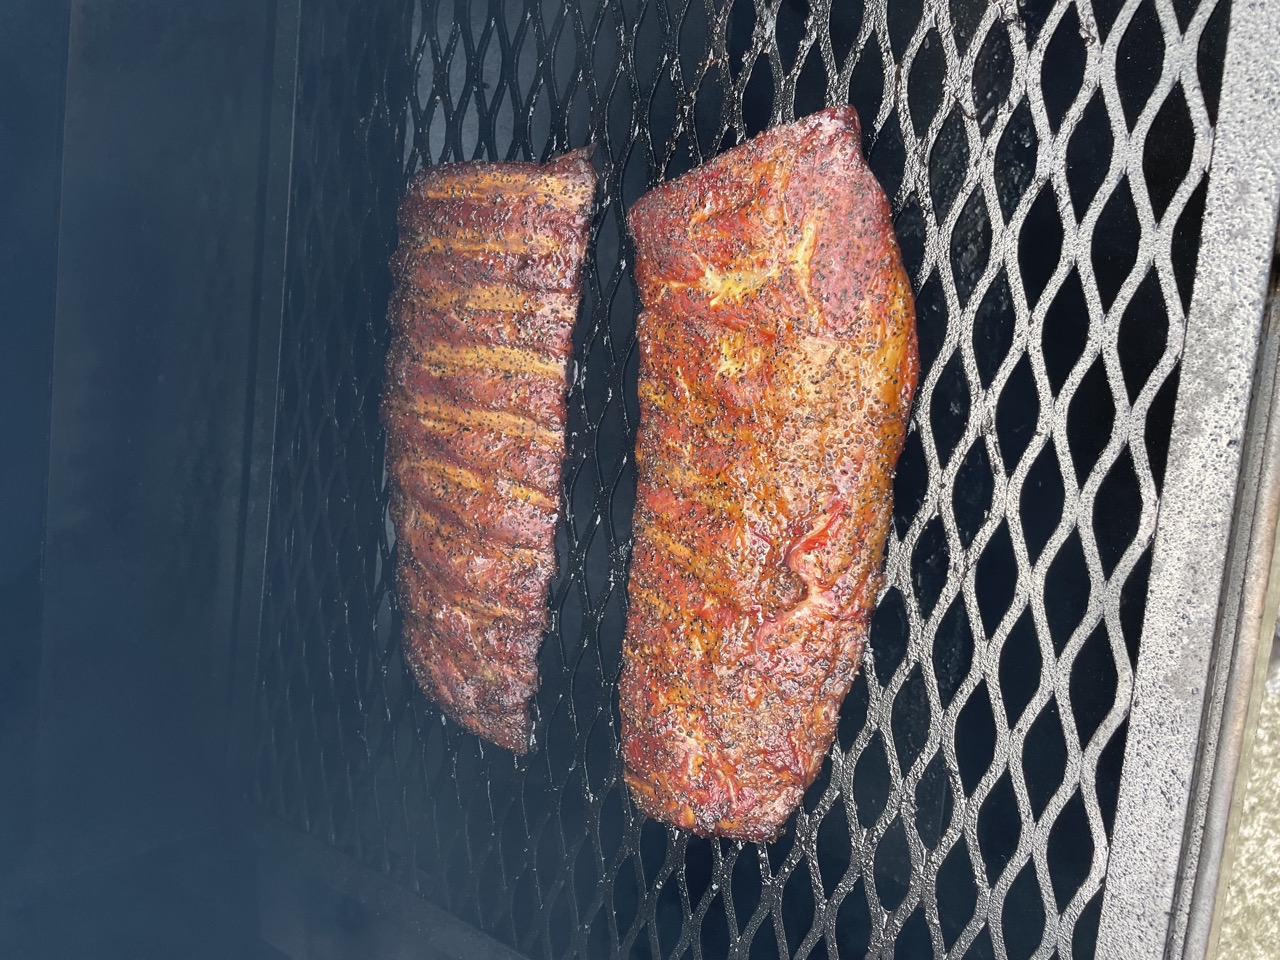
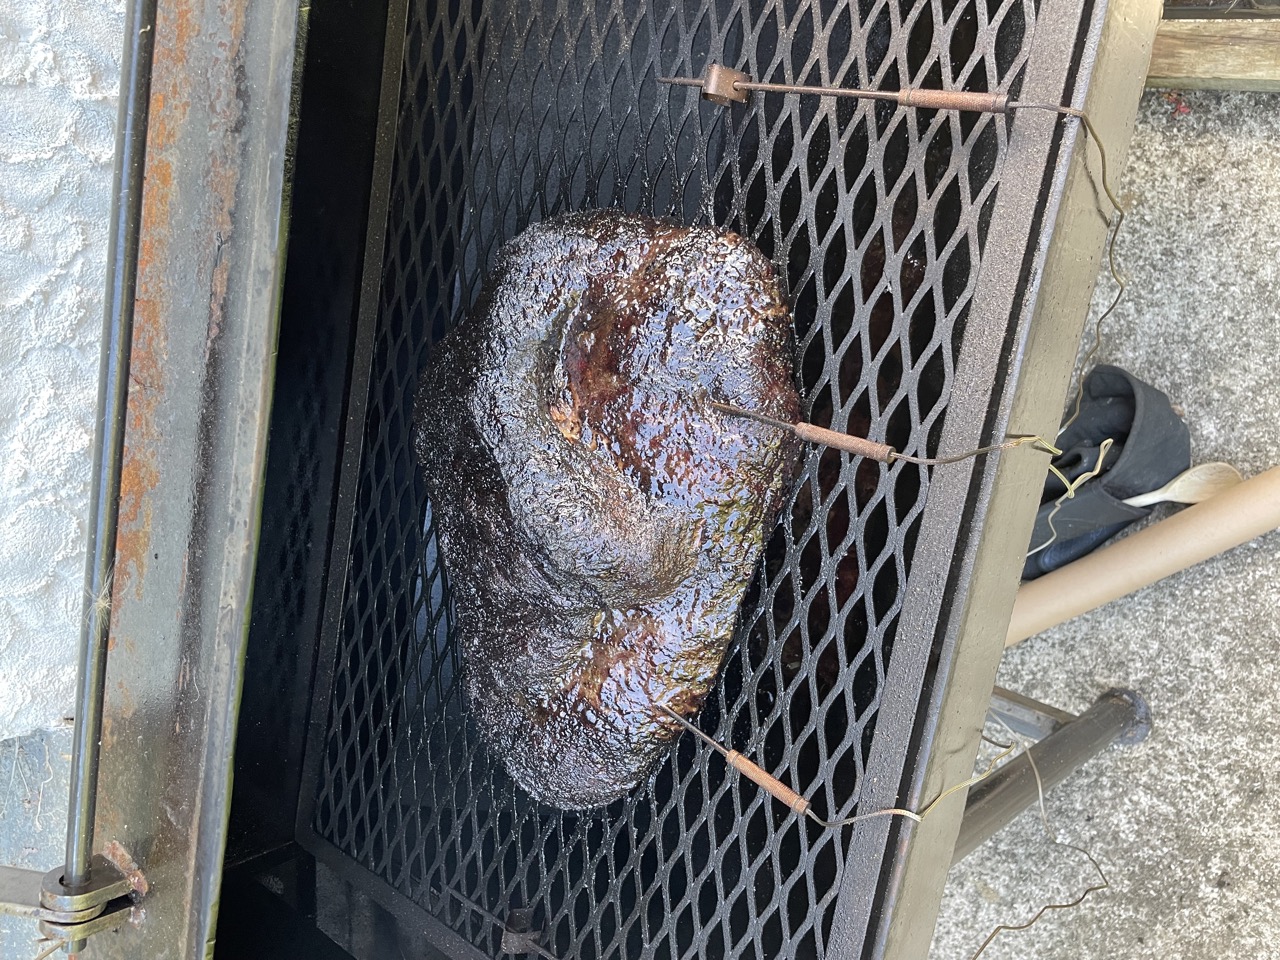
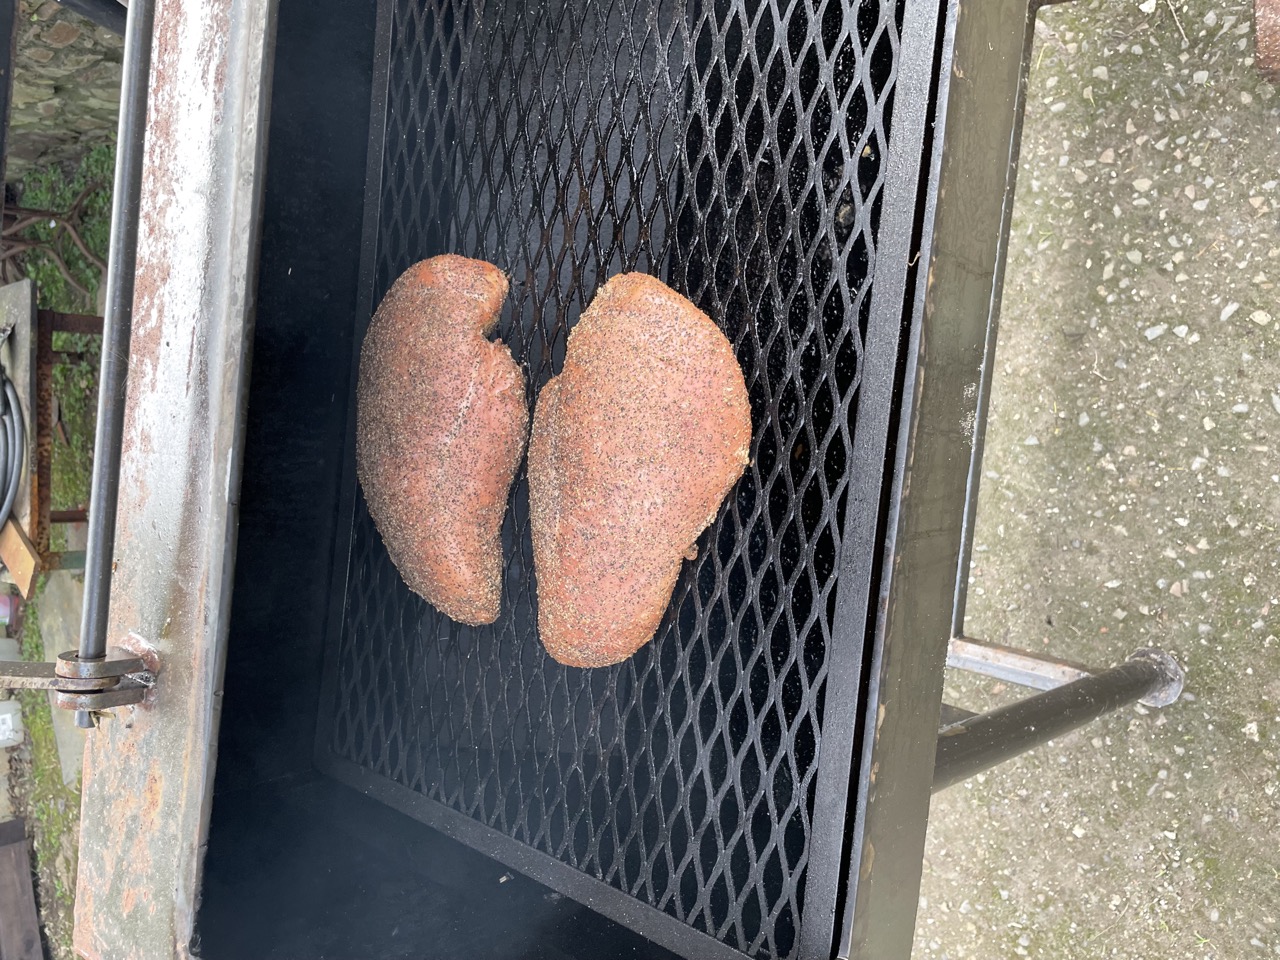
So far I have cooked pork spare ribs, chicken thighs, turkey breasts and one 16-pound brisket. All seemed to turn out surprisingly well considering I’m still learning how the cooker performs.
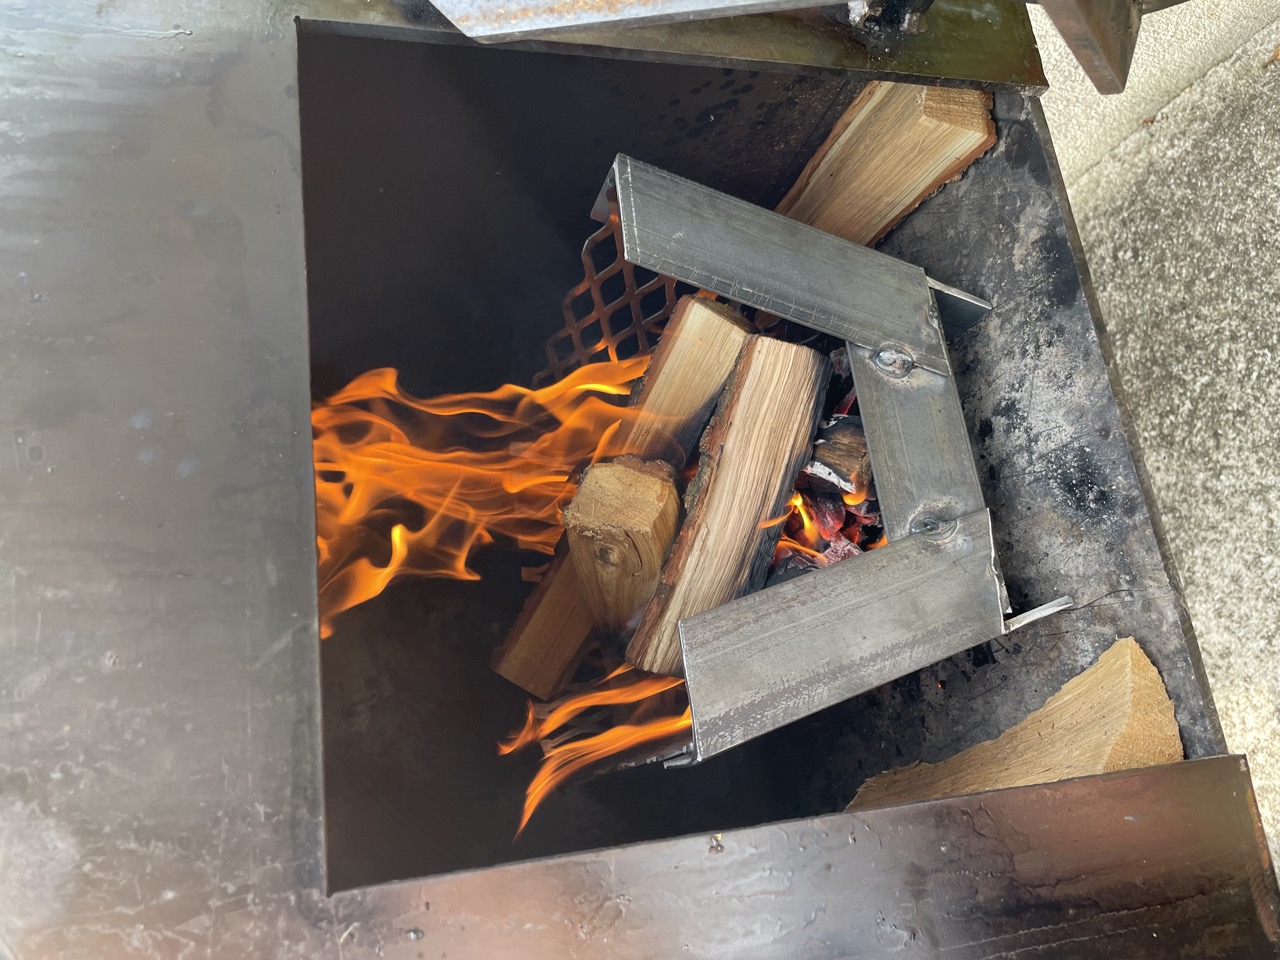
I found that initially the fire was hard to control, but this turned out to be due to the oak logs being far too dry. It’s hard to find small quantities of logs that have not been kiln dried and had every bit of moisture extracted from them, which leads them to burn far too quickly. I found that it’s just a case of storing these outdoors and waiting - eventually the moisture content comes back up to that of the surrounding atmosphere and fires with them are a lot easier to control. Kiln-drying logs; what a waste of energy!
I did also end up building a small fire basket out of some offcuts to help keep the fire together and obtain that clean smoke - it remains to be seen if it’s necessary or not!
What’s next
We still need to build a latch for the firebox door. I purposefully held off from doing this before gaining experience running the cooker as I wasn’t sure where I would need to hold the door, but now I have a good idea. We also need to add some kind of handle so the thing is easier to move. It’s incredibly heavy and we’ve already broken the thermometer glass once whilst trying to manhandle it back into the shed!
I’m looking forward to doing more cooks in the future.
